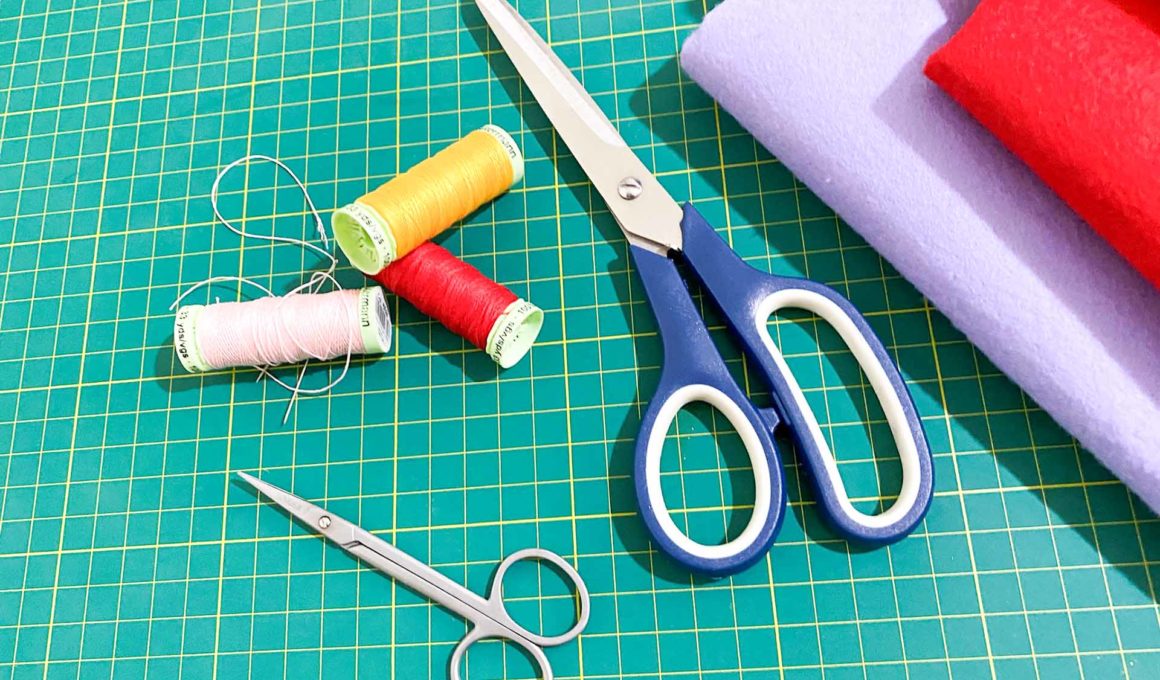
Working with felt crafts is to have a world of possibilities. But do you know where to start?
In this felt craft universe, it is possible to work with different themes and types of decorations: pieces for birth, dolls, children’s party decoration, and even bags and accessory items.
See Also: Everything You Want to Know About Felt
I’ll talk about the materials and tools you need to help you take the first steps and get started with a felt sewing activity. I will also present you the pieces you can start applying immediately and the most used stitches for embroidering.
See Also: 15 Amazing Tips for Working with Felt
Stay with me, so you don’t miss any tips!
Basic Materials and Tools For Felt Crafts
1. Felt
Felt, usually made of polyester fiber, is inexpensive, economical, and easy to use. Therefore, it is unnecessary to have a large stock of this material for your work.
See Also: What are the Felt Types
The idea is that over time your stock will increase. So start by buying small felt plates from 20 cm to 1 m, plain and patterned.
Felt can be purchased at handicraft stores such as haberdashery, fabric stores, and even online.
See Also: 4 Types of Craft Felt – Learn to Choose and Use
In order not to make mistakes while purchasing, choose quality felts. Quality felts already pre-treated during production, which means they will not form bubbles over time.
See Also: How to Choose a Quality Felt Fabric
Click here to learn more about which types of felts to buy.
2. Threads
There are at least 6 types that can be used in felting: sewing thread, topstitching thread, hank thread, invisible thread, crochet thread, and kite thread. However, you will only need one or two types to get started.
See Also: Which Embroidery Thread is Used in Sewing Felt
Generally, more delicate threads, such as sewing thread and hank thread, make the stitches more fragile and less pronounced. As such, they are great options for covering parts.
Use a thicker yarn, such as crochet, to embroider faces and make other details that need to be visible. However, if you prefer, use up to 4 threads together for a more pleasing line. So you don’t have to invest in more than one yarn type.
See Also: How to Sew Felt: Key Points
On the other hand, special threads such as kites and invisible have particular uses. The first is for nailing details like buttons and beads with higher resistance.
Invisible thread made of nylon is used to “erase” the stitching or make it look less. It does sewing on the machine, for example, much easier, as the felt does not need to be changed in color.
3. Needles
Use a standard needle with a fine tip and the most suitable size to sew the felt. Keep a few in reserve as the needles can be easily lost.
See Also: Which Embroidery Needle is Used in Sewing Felt
All you have to do is choose the needle size according to the type of work you will do.
Use a finer needle if you want a more precise result with smaller stitches. Use a thicker needle if you wish for more significant, more noticeable stitches.
4. Fabric pens
You need to reserve at least two pens for engraving patterns and transferring them to felt. One should be dark ink for light felts, and the other should be light ink to engrave on dark felts.
A blue or black ink ballpoint pen is the most straightforward and economical option for drawing light felt. Use a white ballpoint pen available at any stationery store to mark the dark felt.
Have a permanent, handcrafted pen at home if you want to draw details such as mouth, eyelashes, and eyebrows on the felt. It will definitely be beneficial.
Many craftsmen use the magic pen or ghost pen. It is super practical as the scratch can be easily removed with a heat source.
5. Adhesives for felt
There are several types of felt glue, but the most commonly used are hot glue and silicone glue. In the beginning, have at least these two options.
Hot glue is the most common because it is readily available at any haberdashery or stationery store. It is also straightforward and dries quickly, which makes your life easier.
Silicone glue is also very easy to use; its difference from canvas glue is that it takes longer to dry and has a thinner texture.
6. Filling material
Acrylic fiber is the most commonly used filler in felt handicrafts. You will use most of this material to make most of the pieces.
See Also: 5 Felt Filling Tips to Perfect Your Felt Crafts
Be careful when filling; otherwise, you risk getting a faded and wrinkled finish.
The type of fill you choose will depend heavily on your search result. For flat or thin parts, using acrylic filler is ideal.
7. Accessories
Accessories can be purchased gradually as well as felt. You can invest in a small pack of pearls and another pack of black beads on your first purchase because they will be used a lot to make the eyes of the pieces.
Also, buy a piece of delicate lace, various buttons, and some ribbon. These are essential accessory supplies to decorate your felt work. Over time you will naturally expand your inventory.
8. Felt Patterns
It is not difficult to get patterns online. However, since not all molds are tested, problems may occur in the assembly of parts.
See Also: How to Cut Small Felt Patterns
With this, you lose a lot of material by making wrong attempts. Unfortunately, this felt is very common in crafts.
A tip to avoid this is to only work with reliable molds with clear assembly instructions. At Mommy’s Felt Toys, you’ll find hundreds of beneficial felt patterns and countless step-by-step videos.
Important Points About Felt Crafts
To get started with felt crafts, you need to learn some techniques and invest in patterns and materials. With these techniques, you also need to know how to perform some key points to produce pieces such as buttonholes, toothpicks, topstitching, and backing.
Buttonholes are most commonly used to close the pieces. But at first, you need to practice on some felt scraps to get a good result. Try to maintain a certain regularity in the height and distance between one point and another. When done well, the buttonhole makes the pieces look super delicate.
Toothpick stitching is straightforward and doesn’t take much practice. It is used to fasten one piece on top of another and can be done more quickly. So when you want to speed up a stage of your work, it is really worth using it.
Backstitch, also called basting, is a famous back and forth stitch. It looks like a cut but is not well spaced. This stitch applies felt on felt and serves to close the pieces.
Backstitch creates a continuous line on the felt. Therefore, knowing how to apply it is essential for embroidering eyes, mouths, and other finishing details.


Pretty nice post. I simply stumbled upon your blog and wanted to say that I have truly loved browsing
your weblog posts. In any case I’ll be subscribing to your rss feed and I hope you write again very soon!