


Table of Contents
Although felt is an accessible material to work with, sometimes the final result of felt craft projects can have some imperfections. In fact, such undesirable situations arise from felt drawing and cutting stages. Therefore, it is essential to know how to draw felt and cut felt correctly.
See Also: How to Enlarge or Reduce the Size of Felt Patterns
If you’re a felt crafts beginner and want to learn how to make the perfect first steps of each felt piece, check out the tips below. If you want to learn how to draw felt correctly, make mirrored parts, and remove pencil scratches for excellent work, check out the information I have prepared for you!
How to draw felt and how to cut felt – tips for beginners
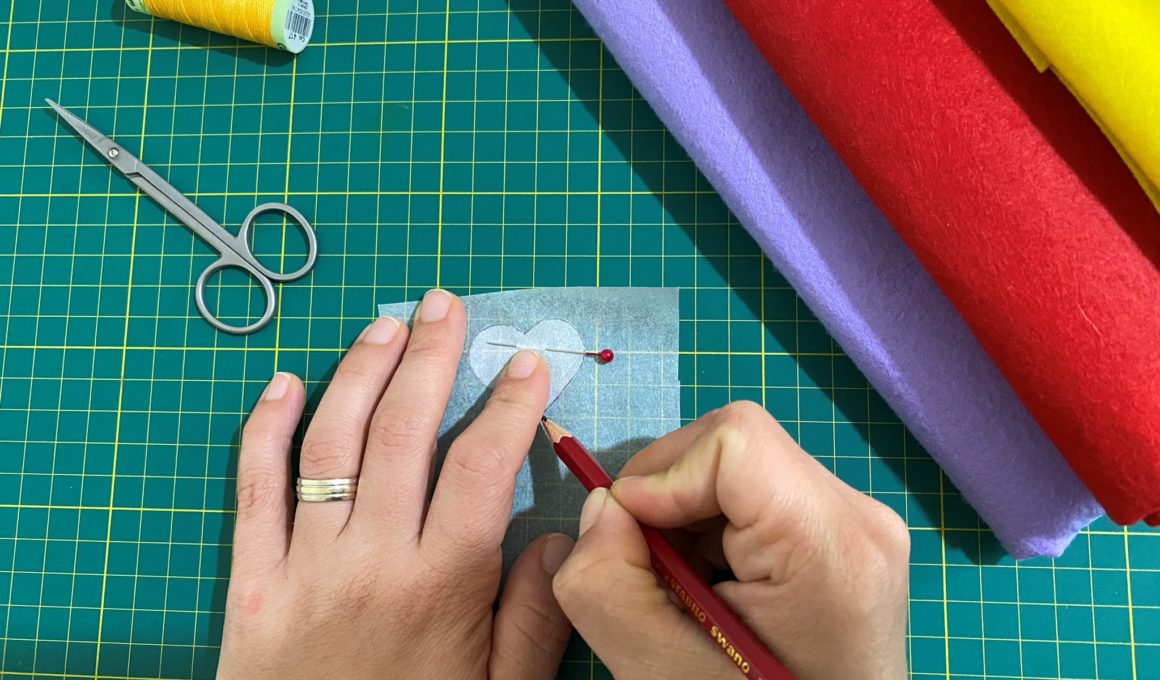
Tip 1: Always draw the inside of the felt
Felt has two sides: the outside and the inside out. The smoothest side is the outside, while the inside-out side is the most porous. Therefore, continuously define and draw the side inside the felt.
See Also: 3 Tips to Make Your Pieces Beautiful When Cutting Felt
Tip 2: Use a pencil to create pattern lines
Use a suitable pencil to make the scratches on the felt. In general, fine-beaked pencils are better for scratching and require less work in removing the scratch while cutting.
See Also: How to Cut Small Felt Patterns
Tip 3: Draw the felt in mirrored mode
For parts with two equal parts, always draw the felt in mirrored mode. So, mark the pattern once; then turn it to the other side and draw again on the same side with felt. Thus, you will have two pieces that complement each other and are even on all sides, making for a perfect finishing after sewing the felt. This tip is essential for making felt baby arms and letters.
See Also: How to Transfer Templates to Felt
Tip #4: Take scratches a millimeter away
Draw the felt leaving about a millimeter away from the pattern. So you will have an adequate cut when removing pencil scratches with scissors.
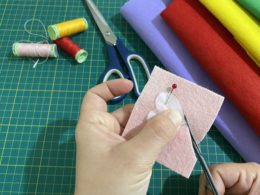
Tip 5: Fix the mirror felt before cutting
Fasten the mirrored parts of the felt together with the outside to make it easier to cut and make sure the two parts of the piece are the same. So you can cut both pieces at the same time.
Tip 6: Use separate felt-specific scissors
Reserve the scissors for cutting felt only. This will prolong the life of your scissors’ blades and keep the felt from falling apart.
See Also: How to Sharpen Scissors to Keep the Perfect Cut on Felt
Tip 7: Cut the felt, removing the scratches
Always cut the felt on the inside of the scratches. In this way, you will thoroughly remove pencil marks. That’s why it’s so important to leave a millimeter margin when drawing the pattern.
Tip 8: Don’t crease the felt
To avoid creasing, always use the entire cutting area of the scissors. When you start cutting the felt, open the scissors well and close them completely. Do this until you have completely cut the piece. Then, for a continuous, burr-free cut, turn the felt instead of the scissors.
Tip 9: Remove all scratches
If minor pencil marks remain on the felt after trimming, use conventional scissors to remove only the surface layer from the felt. To do this, use the scissors outstretched, passing them very slowly until all pencil marks have been removed. This will ensure a nice run and a clean finish.
Now that you know all about cutting and drawing felt, your felt crafting projects will definitely look much better, right?


I was extremely pleased to discover this great site. I want to to thank you for ones time just for this wonderful read!! I definitely liked every little bit of it and i also have you bookmarked to look at new information in your blog.